For soldering professionals, precision and efficiency are non-negotiable. Soldering stations, like the Silverflo 750W 8586D-II, are trusted tools because they provide reliable performance for intricate tasks. At the heart of this device lies an essential yet often underappreciated component—the heating element. This blog explores the role of the heating element in the Silverflo 750W 8586D-II, common issues, and how to maintain and replace it for optimal performance.
Why the Heating Element Matters in the Silverflo 750W 8586D-II
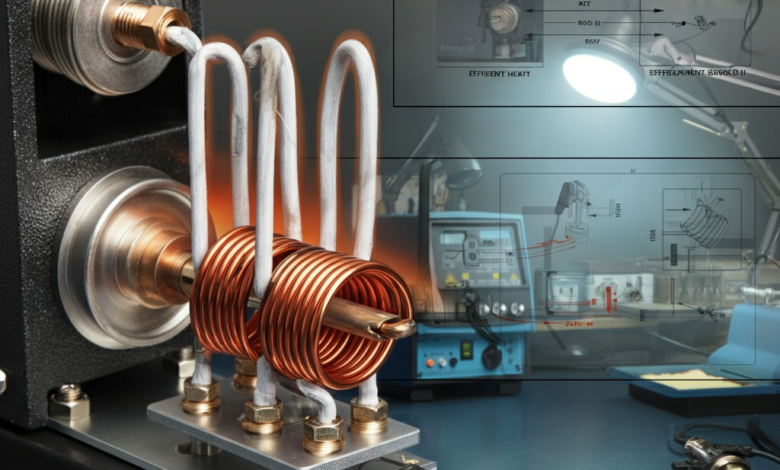
The heating element in the Silverflo 750W 8586D-II serves as the powerhouse of your soldering station. It is responsible for heating the soldering iron tip to precise temperatures, enabling accurate soldering. Without it, the station’s performance diminishes drastically, leading to issues like poor soldering quality or inconsistent heat distribution.
For professionals who deal with delicate circuits and meticulous projects, a reliable heating element is vital. It facilitates consistent temperature control and reduces the risk of thermal damage to sensitive components. Understanding how this component works is key to maintaining the efficiency of your Silverflo station.
Components of the Heating Element and Their Role in Soldering Efficiency
A typical heating element in a soldering station is made up of several components that work together to ensure efficient heat production and stability. Here’s a breakdown:
1. Ceramic Core
The ceramic core houses the heating wire and provides insulation. It plays a critical role in maintaining uniform heating and enhances the durability of the element.
2. Heating Wire
This is the primary source of heat. Made of high-resistance wire, typically nichrome, it converts electrical energy into heat through resistance.
3. Thermal Sensor
The thermal sensor, often a thermocouple, is embedded within the heating element to monitor and regulate the temperature. This feedback loop ensures the tip reaches and maintains the desired temperature.
4. Protective Sleeving
The protective layer shields the element from external damages, such as mechanical shock and humid environments, further extending its lifespan.
Each of these components performs a crucial function. Together, they make the heating element efficient and reliable, ensuring precision in every soldering job.
Recognizing Common Issues with Heating Elements
Over time, even the best heating elements can experience wear and tear. For soldering professionals, early identification of heating element issues can save time and costly repairs. Here are some common signs of deterioration:
- Fluctuating Temperatures
Sudden drops or spikes in temperature can indicate a failing thermal sensor or degraded heating wire.
- Longer Heat-Up Time
If your soldering iron takes noticeably longer to reach the set temperature, it could be a sign of an aging heating element.
- Unstable or Insufficient Heat
If the tip frequently loses heat during use or fails to solder adequately, the heating element may not be performing well.
- Physical Damage
Cracks, discoloration, or wear marks on the heating element can compromise its efficiency.
Recognizing these signs early allows you to address the issue before it impacts your work quality.
Diagnosing and Replacing the Heating Element
Replacing the heating element in your Silverflo 750W 8586D-II is a straightforward process if you follow the correct steps. Here’s a complete guide:
Tools You’ll Need:
- Replacement heating element (compatible with Silverflo 750W 8586D-II)
- Screwdriver
- Multimeter
- Heat-resistant gloves
- Soldering flux (optional)
Step 1: Power Down and Cool Off
Unplug the soldering station and allow it to cool completely before starting. Heat-resistant gloves are recommended for added safety.
Step 2: Disassemble the Soldering Iron
Using a screwdriver, carefully dismantle the soldering iron to access the internal components. Take care with the screws and small parts to avoid misplacement.
Step 3: Test the Heating Element
Use a multimeter to check the continuity and resistance of the heating element. Refer to the manufacturer’s manual for the recommended resistance range. A reading outside this range indicates a failing element.
Step 4: Remove the Faulty Element
Once diagnosed, carefully remove the damaged heating element from its socket. Clean the area with soldering flux if there’s residue, ensuring the new element installs smoothly.
Step 5: Install the New Element
Insert the replacement heating element gently into the slot, aligning it properly with the connectors. Reassemble the soldering iron as per the manual’s instructions.
Step 6: Test the Station
Power on the soldering station and monitor the temperature stability. Confirm that the new element heats up efficiently and maintains the set temperature.
By following these steps, you can restore your station’s performance quickly and safely.
Pro Tips for Maintaining the Heating Element
A proactive maintenance routine ensures your heating element lasts longer and continues to perform efficiently. Here are some best practices:
- Avoid Overheating
Always set the soldering station to the lowest necessary temperature to minimize stress on the heating element.
- Clean Regularly
Wipe the soldering tip clean after each session to avoid residue buildup, which can indirectly affect the heating element.
- Prevent Mechanical Stress
Handle the soldering iron and station carefully to protect the internal components, including the heating element.
- Invest in Quality Replacements
Use manufacturer-approved replacement parts to ensure compatibility and reliability.
- Store Properly
When not in use, store your soldering station in a dry environment to prevent damage from moisture and dust.
These tips, when combined with regular equipment checks, can considerably enhance the lifespan of your heating element.
The Unsung Hero of Soldering Precision
The heating element in your Silverflo 750W 8586D-II is more than just a component—it’s the backbone of your soldering setup. By understanding how it works, recognizing the signs of wear, and taking care of it properly, you can ensure your soldering station continues to meet the highest professional standards.